A properly installed roof can serve as the first line of defense against dangerous high winds, heavy rain or snow, and other extreme weather conditions. It’s why homeowners turn to roofing professionals — especially those who are Fortified Roof Certified — to uphold their homes' structural integrity and protect their families.
As the residential roofing market continues to expand, contractors can play an impactful role in another area fueling roofing projects: wildfire mitigation.
Over the past few years, the prevalence of climate change and major U.S. wildfires such as the Maui wildfire, Marshall Fire 2021, or the 2020 California Fire Siege have sparked the public consciousness. While many people relegate these events to the West Coast, the destruction of wildfires is steadily rising across the country.
The U.S. Fire Administration estimates that more than 45 million homes in over 60,000 communities are at risk for wildfires. These wildfires often occur in Wildland Urban Interface (WUI) zones, a transition of land between unoccupied areas and resident or commercial developments that grows by nearly 2 million acres a year.
Most people associate wildfires with giant flames engulfing homes. But 9 out of 10 homes and buildings ignite from floating embers, which work their way into the nooks and crevices of homes, including through roof vents.
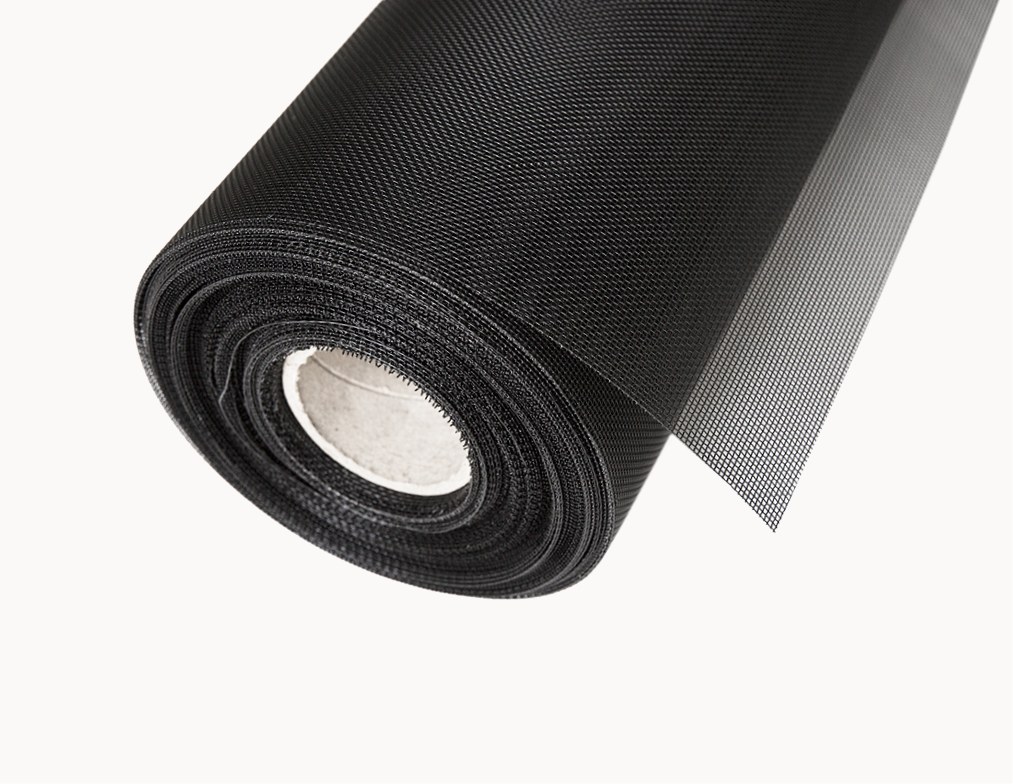
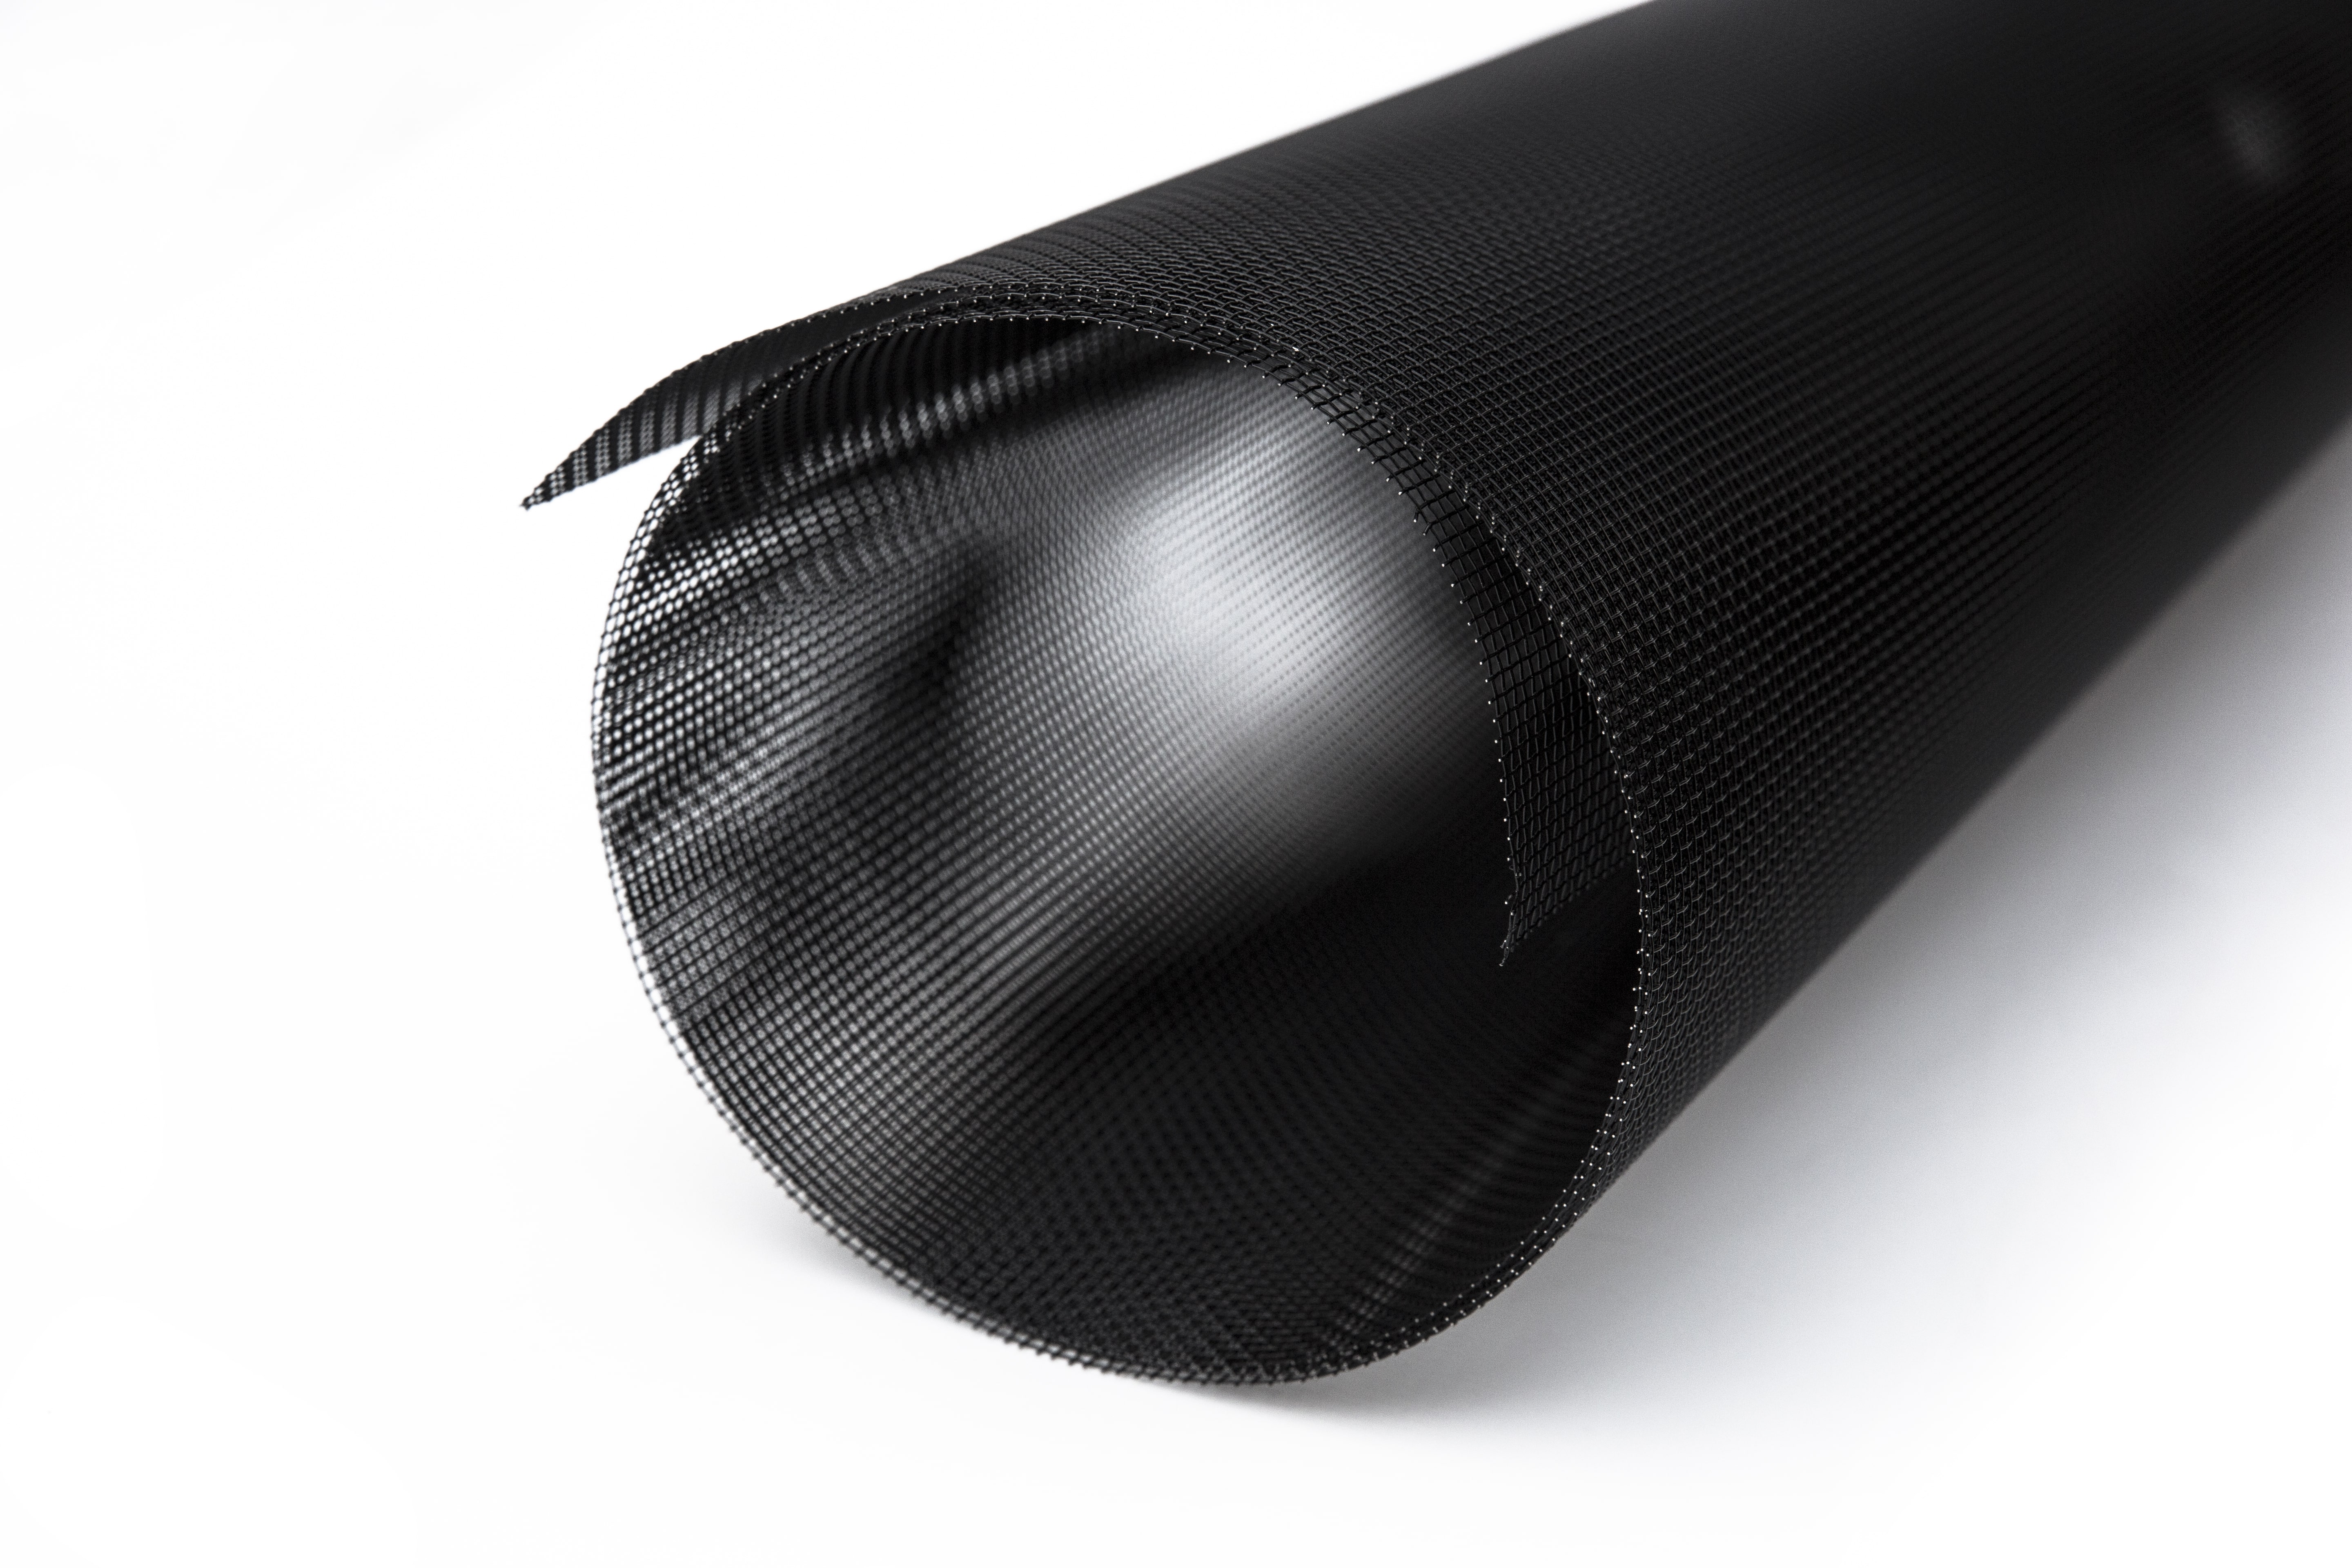
Roofing contractors' expertise can make a world of difference in preventing these embers from entering a home by installing stainless steel mesh as a preventative shield.
Here’s how roofing companies can join the fight to prevent destruction caused by wildfires — and grow their businesses — as homeowners look for new innovations to protect their homes.
During a wildfire event, roofs are proven to be the most vulnerable part of a structure. As the risk of wildfires increases, roofing companies have a unique opportunity to reinforce protections for homeowners and expand their service offerings.
Homes are strongly recommended to have Class A roofing, made with fire-resistant roof coverings such as asphalt shingles, tile, slate, or metal roofs. Some States and counties are considering wildfire resiliency codes to protect homes and businesses in their communities.
As homeowners across the country seek retrofitting and re-roofing options to bring their roofs up to code or meet insurance requirements, contractors are primed to take advantage of the demand. Many roofers are growing their businesses by participating in wildfire mitigation training and completing certifications that demonstrate their expertise to provide upgrades beyond typical building codes.
Still, ensuring providing homeowners with a Class A roof isn’t enough to prevent embers from igniting homes, alone.
Wildfires spread through the weakest link in the chain. Vertical surfaces like roof edges, gutters, and vents often capture combustible debris, such as vegetation, nesting, or trash, and can expose vulnerable parts of a home.
Not only are these spaces prone to fire ignition, they can cause a fire to spread next door. Roofing companies can leverage their existing expertise to prevent destruction by offering additional wildfire structural hardening services.


One of the best ways roofers can contribute to fire-proofing a home is by installing stainless steel mesh at various ember entry points. These areas include:
As well as applications beyond the roof :
Roofing contractors can also inform homeowners about other wildfire mitigation measures, such as clearing a 0-5 ft. non-combustible zone of any vegetation or combustible materials within five feet of the home’s perimeter, installing non-combustible fencing, or installing fire-resistant plants in landscaping to create even more defensible space.
As more customers express interest in hardening their homes, roofing professionals can serve as trusted experts in wildfire mitigation, providing an extra opportunity to boost the company’s value and reputation within the community.
Whether your roofing company is focused on new construction, retrofitting, or re-roofing projects, there are plenty of opportunities for roofing contractors to upsell mesh for vents, gutters, and other exterior applications to help homeowners build fire-resistant homes — but not all mesh is the same.
To maintain a top-tier reputation, roofing professionals should use the only proven and effective stainless steel mesh against Bushfire and Wildfires Building Codes on the market. Wildfire Defense Mesh™ is the industry’s only patent-pending wildfire mesh product that is 98% effective at stopping dangerous embers, reduces radiant heat by ~38%, and diffuses direct flames to protect homes from the threat of wildfire.
Unlike other mesh products, Wildfire Defense Mesh™ is also rust-resistant and long-lasting, easing homeowners' concerns about ongoing maintenance costs or curb appeal.
More importantly, this product is simple for roofing professionals to learn and install, making wildfire mitigation a seamless service addition. In fact, we’ve created an easy vent installation guide to help roofing companies get started.
Roofing professionals play a powerful role in upholding the integrity of structures in every community and strengthening their resilience. As the world faces growing threats due to climate change, roofing contractors can offer homeowners an extra layer of protection for their most important asset — giving them peace of mind.