The barrier to protecting your home from wildfire embers is lower than most people expect. You don't need a contractor, a building permit, or a week off work. With the right mesh and a weekend afternoon, most homeowners can cover the highest-risk ember entry points on their property — here's exactly how to do it.
Before You Start: The Home Audit
The most useful thing you can do before ordering anything is walk your property with a notepad. You're looking for the ten categories of ember entry point identified by CAL FIRE and the NFPA:
- Foundation vents — how many, and what are their approximate dimensions?
- Soffit and gable vents — count them and estimate size.
- Ridge vents — are these open or already screened?
- Gutters — are they open-topped? Do they contain debris?
- Window and door screens — are these standard insect screens or ember-resistant?
- Under-deck and subfloor spaces — are these enclosed or open? What's the exposed area?
- Bird stops and roof-wall gaps — small, but worth noting.
- Weep holes and external inlets — look at the foundation and exterior walls.
- Perimeter fencing — is it combustible wood fencing attached to the structure?
- Eaves and soffits — are these open or enclosed?
Note the dimensions and material conditions of each. This audit becomes your shopping list.
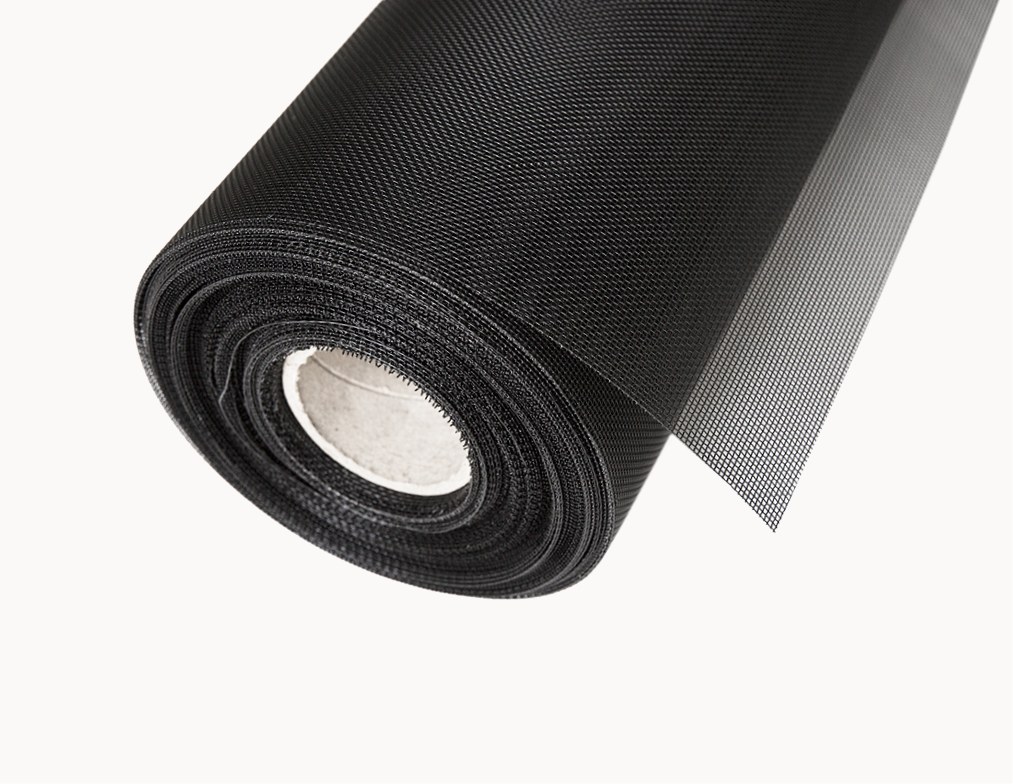
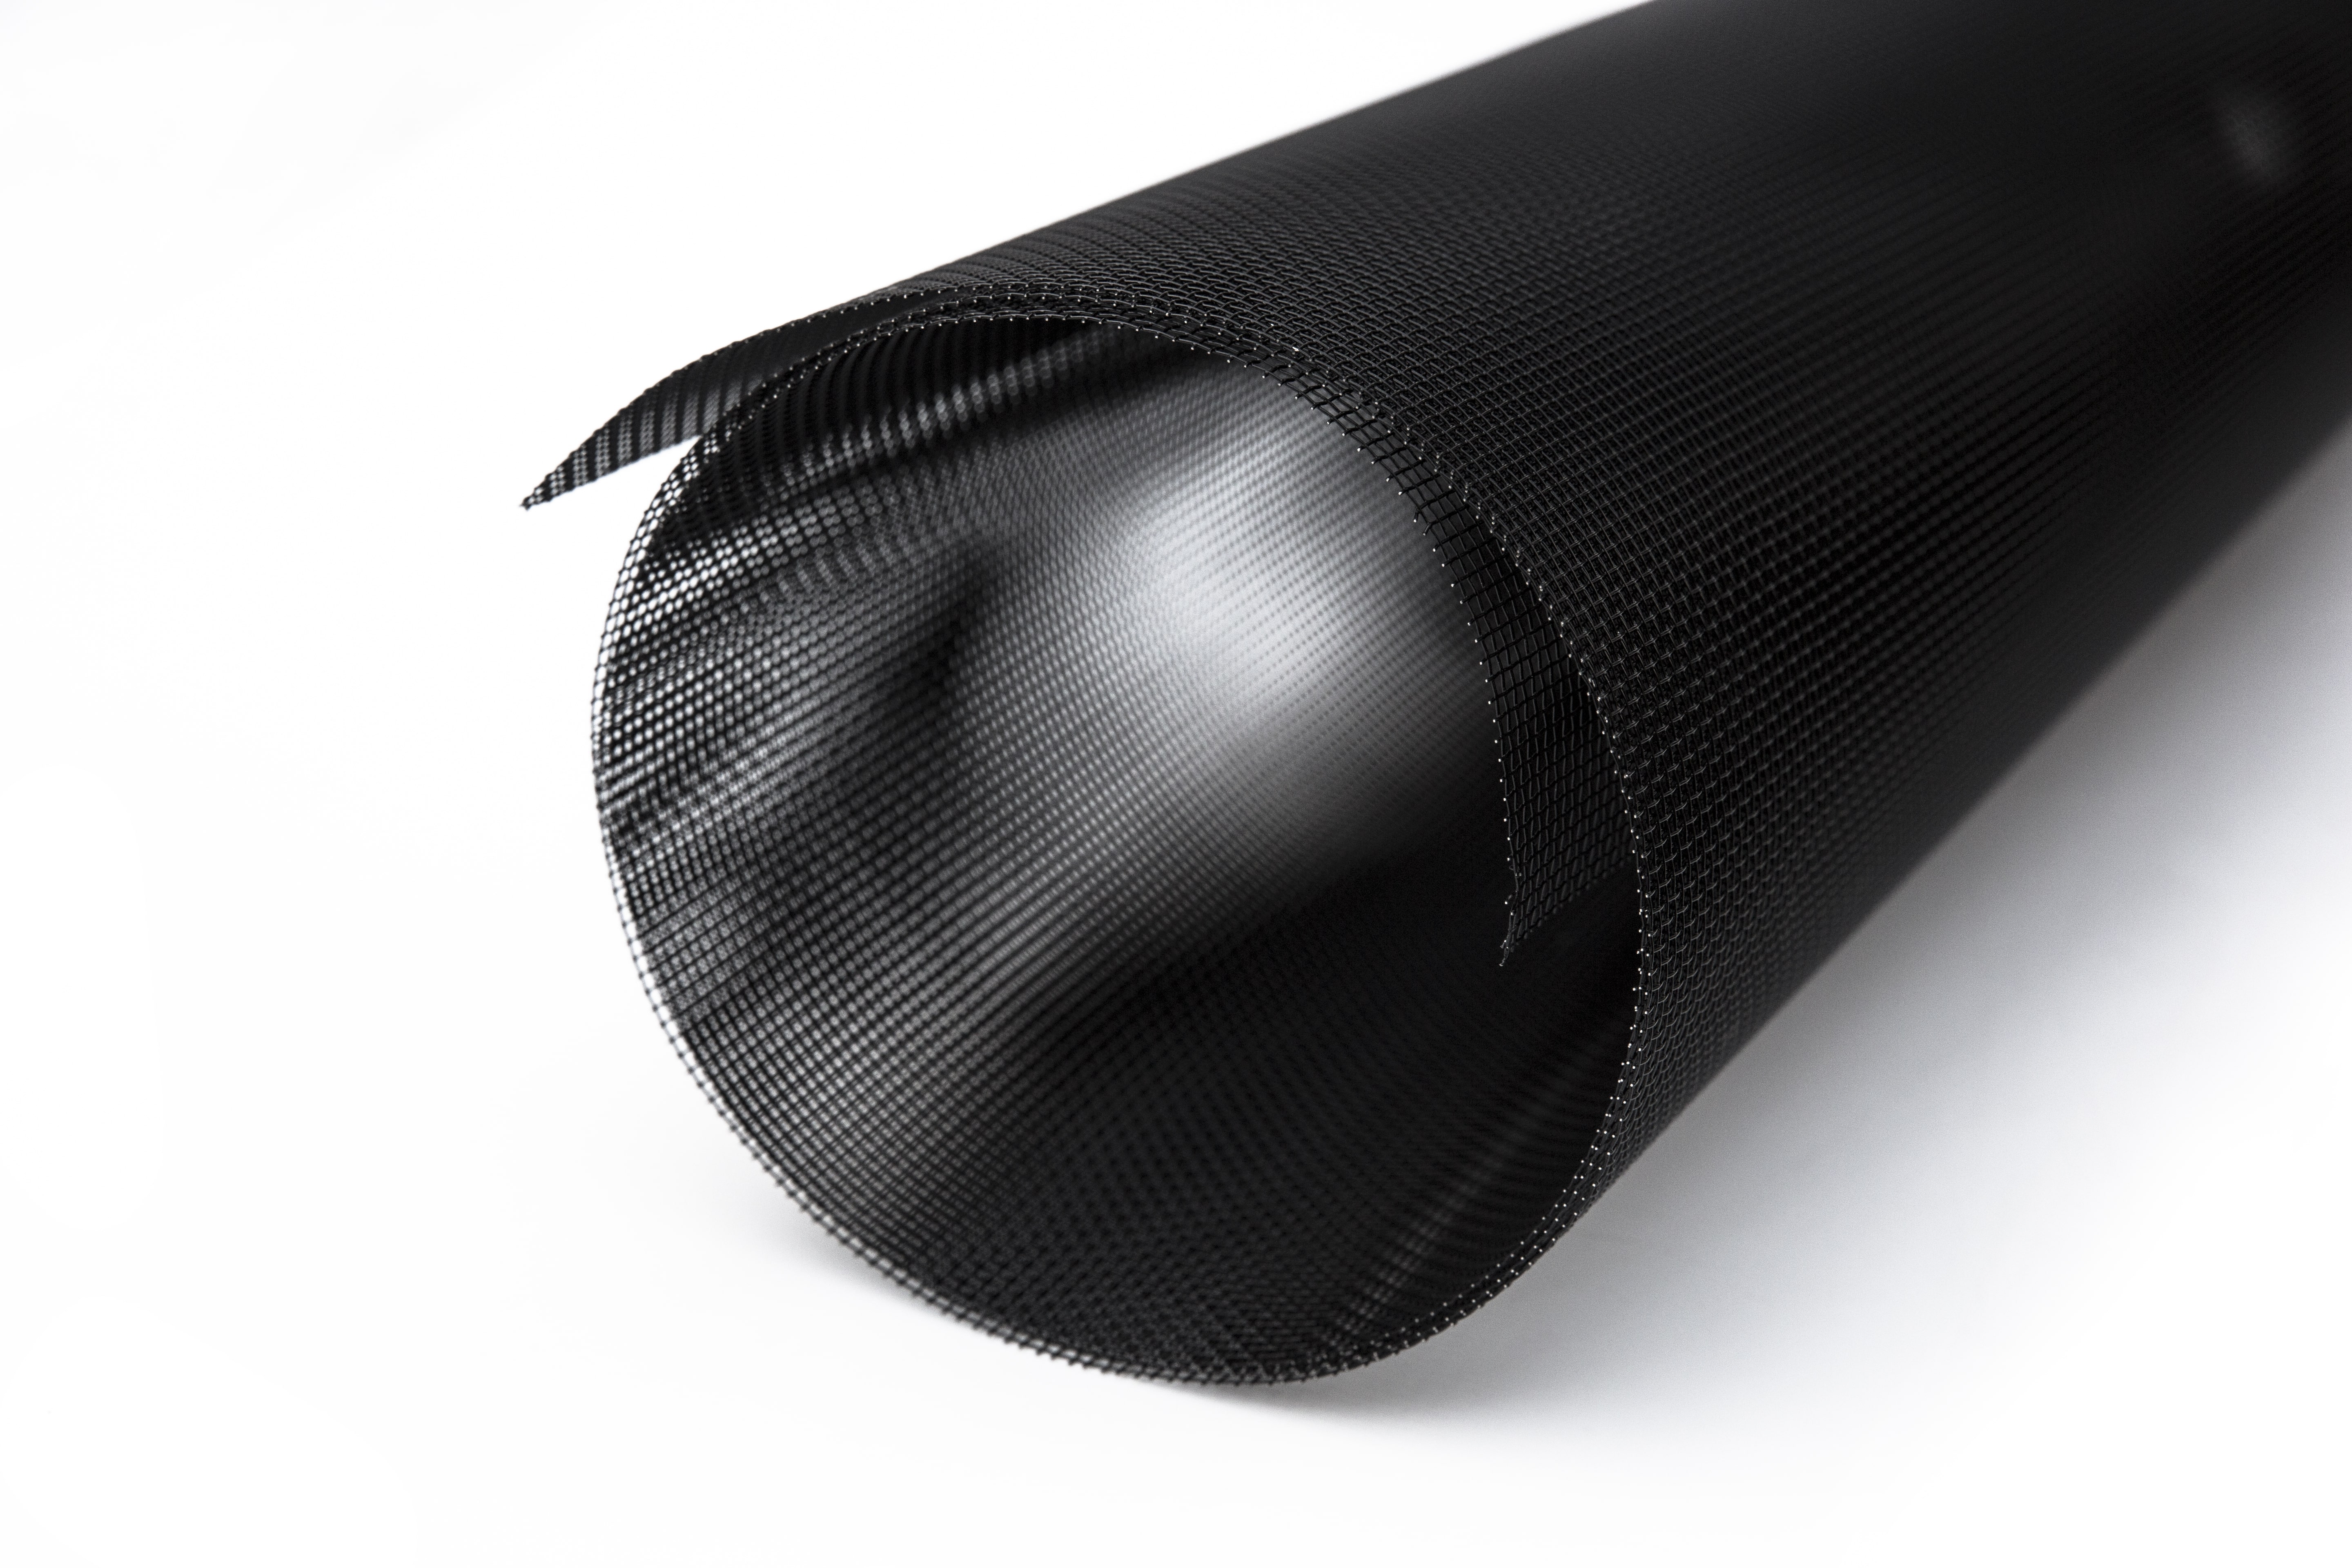
Choosing the Right Mesh: WDM 98 vs WDM 75
Wildfire Defense Mesh comes in two formulations, designed for different applications:
- WDM 98 is tested to ASTM E2886 standards and engineered to handle all three wildfire exposure types when installed vertically: embers (98% effective), radiant heat (approximately 38% reduction), and direct flame diffusion. For best results, WDM 98 requires that all combustible materials within 5 feet of the mesh application be removed or replaced. It's the right choice for perimeter fencing, enclosing decks, and any high-exposure vertical application.
- WDM 75 is purpose-built for vent applications — foundation vents, soffit vents, gable vents, and similar enclosed openings. It provides robust ember resistance at the entry points where ember intrusion most commonly begins.
Both products are available in roll widths of 8", 24", 36", 49", and 60", giving you the right size for any application without excess waste.
A note on material: CAL FIRE's Home Hardening Guide specifically recommends noncombustible, corrosion-resistant metal mesh for vent protection, with openings no larger than 1/8 inch in diameter. WDM uses stainless steel — the most durable and corrosion-resistant material available for this application, and the one most commonly recommended in fire authority guidance. Learn why stainless steel outperforms aluminum and galvanized options here.
Tools You'll Need (You Probably Already Own Them)
One reason WDM is genuinely DIY-accessible is the minimal tool requirement:
- Tin snips — for clean cuts through the mesh. Aviation snips (left-cut, right-cut, or straight) give the most control.
- Measuring tape — for accurate sizing before cutting.
- Staple gun (heavy-duty) with 3/8" or 1/2" staples, or sheet metal screws and a drill — your choice of fastening method depends on the substrate material.
- Safety glasses and gloves — cut mesh edges can be sharp.
- Work surface — a flat, stable surface for measuring and cutting rolls.
No specialized skills, no licensed contractors, no permits required in most jurisdictions. Always confirm local requirements with your county building department, particularly for any work that might involve structural modifications.
Step-by-Step: Installing on Foundation Vents
Foundation vents are the highest-priority starting point — they're at ground level, directly in the path of ember accumulation, and typically cover significant square footage on older homes.
- Measure each vent opening precisely — width and height.
- Cut WDM 75 to size with tin snips. Add 1/2" overlap on each edge to ensure full coverage with no gaps at the perimeter.
- Position the mesh over the vent opening, ensuring it lies flat with no buckling.
- Fasten every 2" to 3" along the perimeter using staples or screws, depending on your vent framing material. Wood framing works well with staples; metal framing requires screws.
- Inspect from the interior side after installation to confirm no light is visible through gaps at the edges.
If your foundation vents are the original builder-installed louvered type, you have two options: retrofit with WDM 75 mesh over the existing vent opening, or replace with a purpose-built ASTM E2886-listed vent. Both approaches achieve the protection goal; WDM retrofit is typically faster and less expensive.
Step-by-Step: Installing on Soffits and Gable Vents
Soffit and gable vents are among the most common pathways for ember entry into the attic — a particularly dangerous ignition zone because fires that start there can burn undetected for hours before breaking through the roof.
For soffit vents: The installation method mirrors foundation vents — measure, cut with overlap, fasten at the perimeter. On soffits, you're typically working overhead, so a second set of hands is helpful for holding the mesh in place while fastening.
For gable vents: Larger gable openings may benefit from WDM 98 for its superior multi-threat protection. Measure the full opening, cut with margin, and fasten to the vent frame or surrounding framing.
California Building Code Chapter 7A specifically requires that ventilation openings be covered with mesh where the mesh opening dimensions are no larger than 1/8" (3.2mm) and the mesh material is noncombustible and corrosion-resistant. WDM satisfies both requirements.
Step-by-Step: Enclosing Under-Deck Areas
Decks are among the most common points of ember ignition, particularly for older wood-decked structures. IBHS research documented that all ember-ignited deck fires started as smoldering fires in gaps between deck boards — typically in the enclosed under-deck space where embers accumulate and combustible debris collects.
For under-deck enclosure, WDM 98's 60" roll width provides an efficient solution for enclosing the perimeter of deck skirting:
- Measure the perimeter of the deck's exposed underside area.
- Clear all combustible materials from within 5 feet of the planned mesh installation (required for optimal WDM 98 performance).
- Cut WDM 98 roll sections to height, allowing for overlap at top and bottom edges.
- Attach to existing framing members using screws, ensuring no sagging or gaps.
- At corners, fold and overlap the mesh rather than cutting to a precise mitered fit — this maintains full coverage at the most vulnerable points.
Common Mistakes to Avoid
- Leaving gaps at edges — Even a 1/4" gap at the perimeter of a vent or soffit can admit embers. Take the extra time to inspect every installation from both sides.
- Using aluminum or galvanized mesh instead of stainless steel — Aluminum offers less durability in heat exposure scenarios; galvanized steel corrodes over time in coastal and humid climates. CAL FIRE and WDM recommend stainless steel specifically.
- Skipping the 5-foot combustible clearance zone for WDM 98 — The mesh performs optimally when there's no combustible material adjacent. A potted plant or wood planter pressed against the mesh undermines the protection.
- Not clearing gutters before installation — Mesh keeps embers out of vents, but a debris-filled gutter is still an ignition risk. Gutter guards using WDM are highly effective, but only after the gutter is clean.
After Installation: Pursuing the Wildfire Prepared Home Designation
Homes that have completed the full suite of ember-protection measures — ASTM E2886-compliant vents, noncombustible material within 5 feet of the home, a Class A roof, and maintained defensible space — may qualify for the IBHS Wildfire Prepared Home designation.
The Wildfire Prepared Home program, developed by the Insurance Institute for Business & Home Safety and currently available in California, Oregon, Nevada, and New Mexico, is the first science-based designation program that allows homeowners to earn formal recognition for wildfire mitigation. The California Department of Insurance requires insurance companies to offer discounts to homeowners who achieve the designation — meaning protection can have a direct financial return.
The base-level designation requires a 5-foot noncombustible zone around the home, ember-resistant vents, a Class A roof, and maintained landscaping. To get started, visit wildfireprepared.org and use the free online checklist to assess your home's current status.
Sources & Further Reading
- California Building Code Chapter 7A — Ventilation Requirements
- CAL FIRE — Home Hardening Guide (State Fire Marshal)
- IBHS — Wildfire Prepared Home Designation Program
- IBHS — Updated Wildfire Prepared Home Standard (2025)
- NFPA/Texas A&M Forest Service — Ember-Ignited Decks Fact Sheet
- ASTM E2886 — Evaluating Exterior Vents for Ember and Flame Resistance
- NFPA — Preparing Homes for Wildfire
- USFA/FEMA — Protecting Structures from Wildfire Embers
- WDM — Why Stainless Steel Is Recommended Over Aluminum or Galvanized